Hey everybody,
So today I installed 2 more gig’s of ram into the new PowerMac G5. Here is an overview and photo’s of what was done. It’s a bit better than the instructions inside the case. All logo’s are copyrighted of their respected owners.
Also, to note:
There is no expressed or implied warranty. If you break it, it is your fault. If you do not feel confident in installing ram take it to an Apple Store or a Service provider.I am released of all liability if you follow these instructions and mess anything up.
Here we go….

Amount of ram before installing 2 more gigs
Step 1, order the new ram. After some googling, I found DMS which has a huge selection of ram, fast shipping and great prices. I usually order most ram off eBay, but this time most of the ram resllers couldn’t ensure it would work with a Mac. So to be safe, and in the end it cost about the same. I ordered Tuesday online and it was here by Friday of the same week. So, I would like to consider that fast shipping.
Step two, Getting to the ram. This was a multi stage process.
First turn off the Mac

Shut down window
Next disconnect everything from the computer
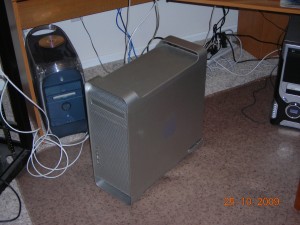
Mac with everything disconnected
I started with it standing for the photo’s, but I would recommend laying it on it’s side. Now, lift the tab on the back of the Mac to release the side panel.
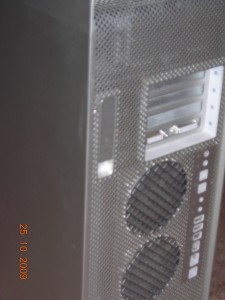
Mac case release tab
Now lift the tab to open the side of the case:
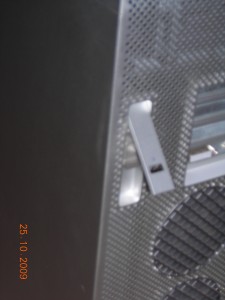
The case tab in the open position
Now you can lower the side of the case:
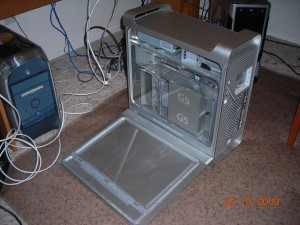
Mac case with the side open
Here what Apple provides inside the case to show you how to do this:
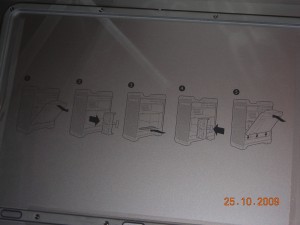
Inside the case, Apple has provided instructions
Next you need to remove the plastic air flow dam:
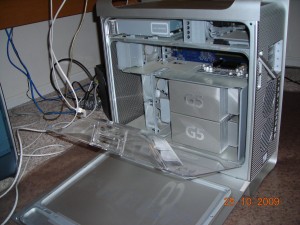
removing the air flow dam
This is where I laid the computer down. Now to remove the fans, very easy, just pull on the handle like part in the middle of the fan housing.
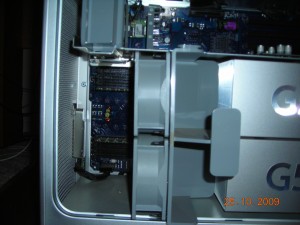
removing the fan housing by pulling up on the handle
This shot is with the fan’s removed and you now have total access to the ram slots.
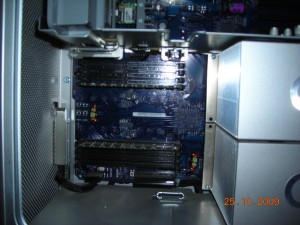
You now have full access to the ram slots
WARNING!! Electro-Static Discharge or ESD can kill the ram and processor. Ensure you either use an ESD wrist strap connected to the case or make sure you discharge your potential energy to the case of the computer BEFORE you start touching the ram and logic board! WARNING!! Enough said about that.
So, what I did next was moved the old ram to the second and fifth slots to put the new larger faster ram in slot one and four. I do not know if this is what Apple recommends, but this is how I have done it in every Power Mac I’ve had. Also, to note, you have to install the ram in pairs. Different from the PC world I know. They claim it makes it run faster, based on how they designed the computer.
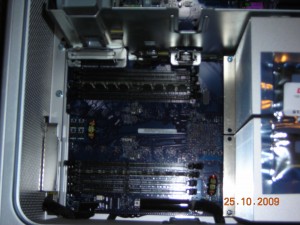
This is the ram moved to slots 2 and 5
Now the new ram:
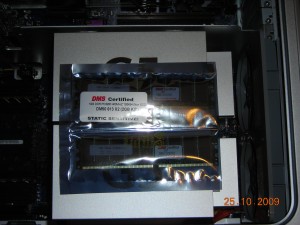
The new ram in its anti static bag
Next line up the key, that is the gap on the edge of the ram, this way you can’t mess it up 😉
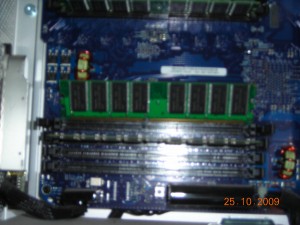
Line up the ram key, the notch along the edge, so that you can install it
Be careful while you preform this step, pressing firmly the ram should “click” into the slot and the ram retaining clips should snap up and into the notches on the ends of the memory stick. Do this for all of the modules you are installing.
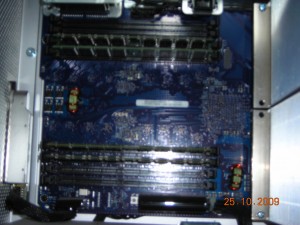
Pressing down on the chip, the ram retaining clips on the end should snap up and into the notches on the edge of the memory chip
Step three, reassembly 🙂 First replace the fan housing:
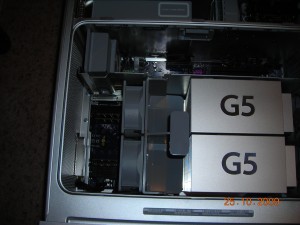
Replace the fan housing by lining up the plastic part at the top that lines up with the gap in the metal
Press down firmly to ensure its power connect is connected. The G5’s get really upset if you don’t install the fans and air dam correctly.
Speaking of air dam’s, replace that now by putting its plastic stubs at the bottom in the corresponding holes.
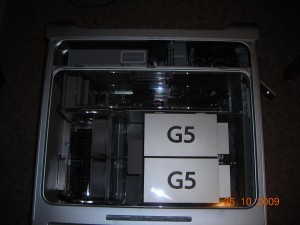
Inser the plastic feet in the holes along the bottom of the case
Make sure it clicks in at the top as you lay it down.
Next to put the side of the case on. Line up the bottom edge and lower/raise (depending if you laid down the computer) the side of the case so that it sits flush. I had to “tap” my case on the top corner closest to the front. Then close the case tab. The case tab will only let you close it when the side of the computer is seated correctly.
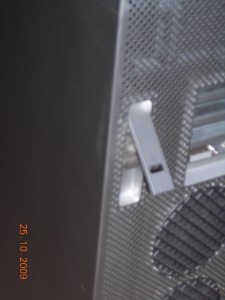
You can only close the tab when the case is seated correctly.
Now, close the case tab.
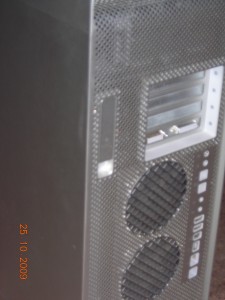
Once the side of the case is seated correctly, push the tab in to close it and secure the case side
Step three, plug everything back in and fire it up.
Once it boots, check that the ram is showing up,

Check the About this Mac in your Apple menu to ensure that the ram is showing up.
So, there you have it… I hope this helps anyone who needs to install ram in their Power Mac G5.
Again, there is no expressed or implied warranty. If you break it, it is your fault. If you do not feel confident in installing ram take it to an Apple Store or a Service provider. I am released of all liability if you follow these instructions and mess anything up.
Happy computing,
Drew
sysadmin@alawrence.net

